Do you know how to draw travel stamps on Python? If you’re reading, then that’s probably a no.
If you’re looking to create your own digital travel stamps, Python can be a fun tool to bring your designs to life! With the Pillow library, you can easily draw shapes, text, and symbols to create a collection of custom travel stamps.
But how to draw travel stamps on Python?
Let’s walk through the process of designing a travel stamp step by step.
What You’ll Need
Before we start, make sure you have Python installed on your system. We’ll also need the Pillow library, which you can install using pip:

How to Draw Travel Stamps on Python?
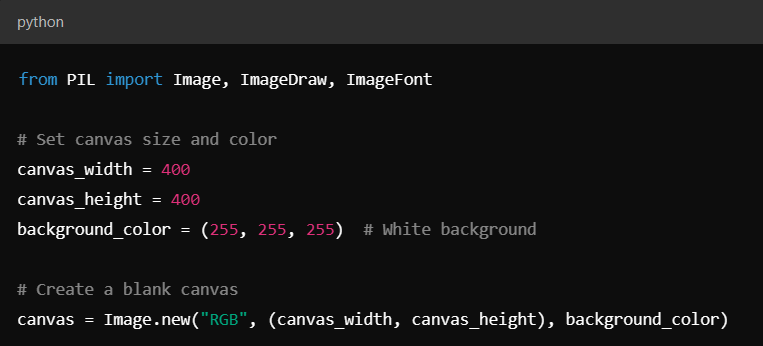
Step 1: Setting Up the Canvas
The first step is to create a blank canvas where we’ll draw our stamp. You can set the size and background color according to your preference.
Step 2: Drawing the Stamp Border
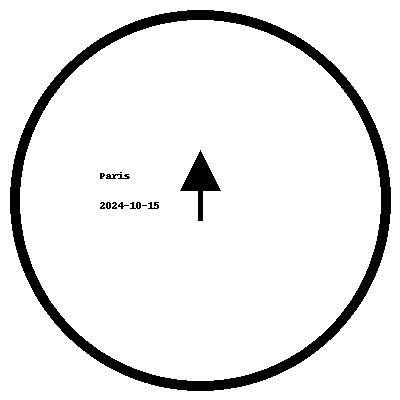
To give our stamp a classic look, we’ll start with a circular border. You can use the ellipse method to draw a circle.
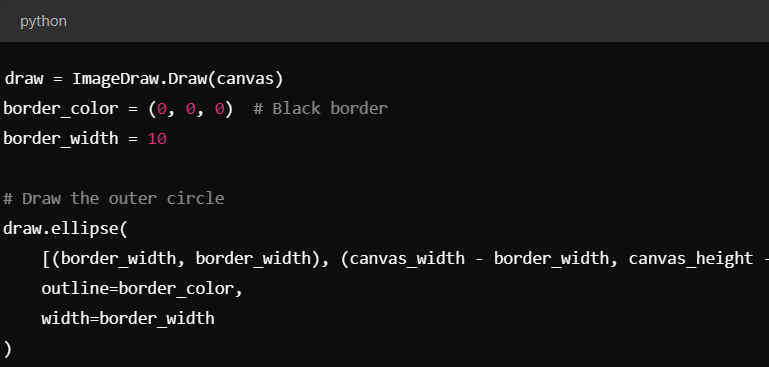
I couldn’t capture the whole code in the screenshoot, so here’s the whole code:
draw = ImageDraw.Draw(canvas)
border_color = (0, 0, 0) # Black border
border_width = 10
# Draw the outer circle
draw.ellipse(
[(border_width, border_width), (canvas_width – border_width, canvas_height – border_width)],
outline=border_color,
width=border_width
)
Step 3: Adding Text to the Stamp
Stamps often have the names of places or dates. Let’s add some text to our stamp. You can customize the font and size as needed.
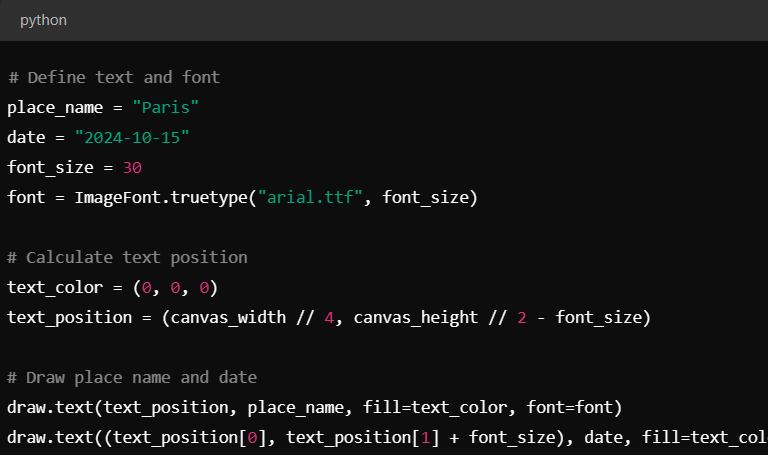
I couldn’t screenshoot this code whole, so here’s a version you can even copy!:
# Define text and font
place_name = “Paris”
date = “2024-10-15”
font_size = 30
font = ImageFont.truetype(“arial.ttf”, font_size)
# Calculate text position
text_color = (0, 0, 0)
text_position = (canvas_width // 4, canvas_height // 2 – font_size)
# Draw place name and date
draw.text(text_position, place_name, fill=text_color, font=font)
draw.text((text_position[0], text_position[1] + font_size), date, fill=text_color, font=font)
Step 4: Adding Custom Shapes or Icons
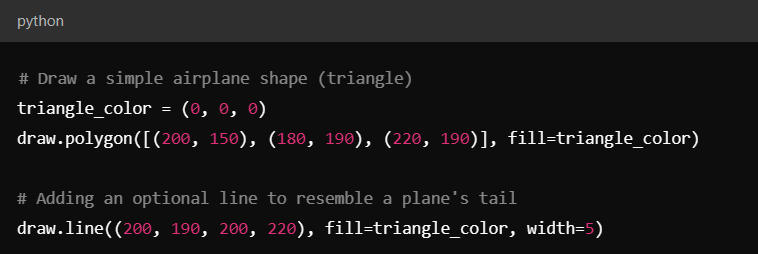
To make the stamp more unique, you might want to add an icon or a shape. Here’s an example of adding a small airplane icon to the center of the stamp.
Step 5: Save and Display the Stamp
Once you’re happy with the design, save the image, or display it directly.

When you run the code, you’ll get something like this out:
Conclusion
Congratulations! You’ve created a custom travel stamp using Python. You can further customize it by experimenting with different fonts, colors, shapes, and designs.
With Pillow, the possibilities are endless, so feel free to explore and add more elements to your stamps. You could even combine multiple stamps to create a travel map or digital scrapbook.


